Showing posts with label butterflies. Show all posts

Wednesday, January 22, 2014

CAS Challenge--Dresses


I'm so excited about showing you guys the new stamp sets that I finally got this month. I had ordered them around Christmas, but due to the bad weather up north, it took a while for them to ship. Obviously, I was thrilled to see them finally arrive. I have ordered some more this month too. I can hardly wait to receive them. So, come back and see all my new creations real soon. If you wouldn't mind following my blog, I'd really appreciate that too. Thank you.
 
MOVING ON.....
 
Today, I'm showing you one of those stamp sets I received. This is one of my favorites that I have gotten so far. Although, I am sure I'll have more along the way! So, I can't be too partial. LOL!


This is the set that I purchased. Isn't it adorable?
 
Now, more about the project....
 
On my card, I used two different embossing folders. For the front of the card base, I used a dotted embossing folder, and I put the flower embossing folder across the entire top piece. 


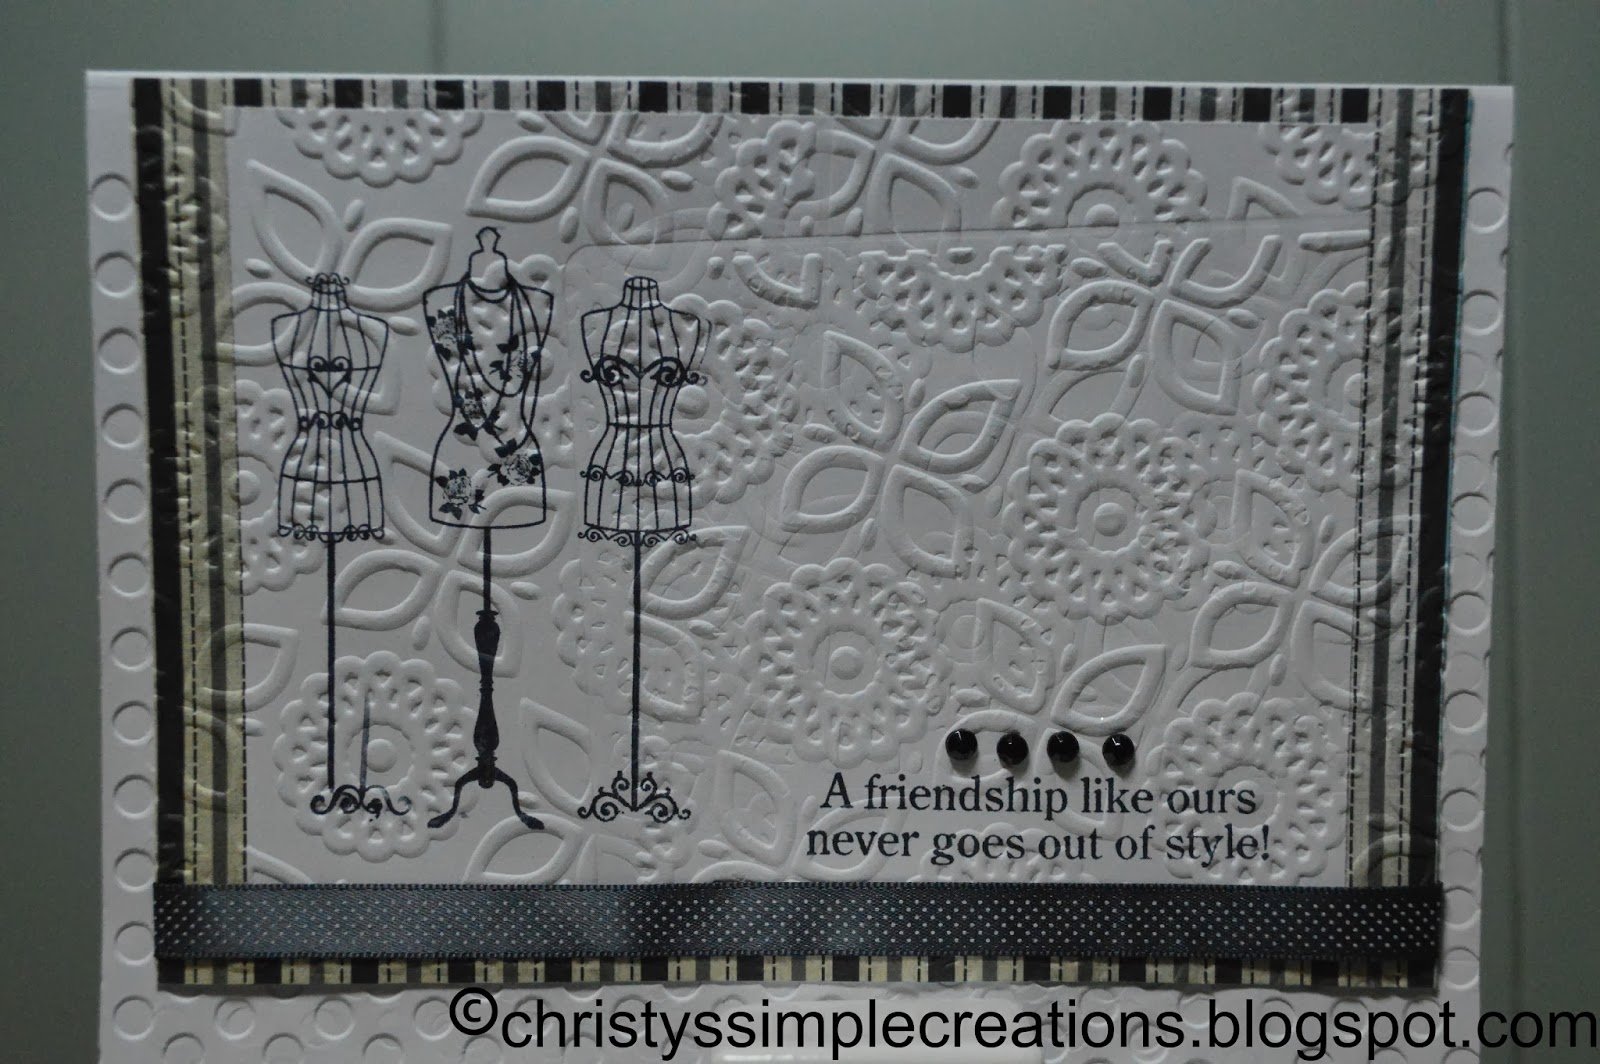
I used the Gina K Designs Ink Pad set "Black Onyx" to stamp the card. In between the two embossing folders, I placed a piece of black and white scrap book paper underneath. This gave a layered look to the card. Which I absolutely love--the layered look.


I also put a piece of black polka-dotted ribbon at the bottom to tie it all together. Then, the final step was to put some black pearl beads on top of the words.


I hope you enjoyed this card, and perhaps learned something while here. There are endless things to do with a card in the stamping world. Many new techniques to learn. I will admit, I have a hard time doing these types of challenges. I love bling all over my cards. A card just doesn't feel completed until I have some kind of gems on top of them. So that's why this weekly challenge from Gina K. Designs challenges was so hard for me to do. So tell me what you think? Do you love or hate doing a CAS card? Thank you for stopping by. 


Sunday, January 12, 2014

Butterfly--Shaped Challenge


This week, I am a participant in the Gina K. Designs weekly card challenge. This time around the challenge had been to create a shaped card. I have never done this before until now. So it had definitely been a challenge!


The first thing I did was to decide which shape I would make it. I began looking through all of my cartridges, and decided to use the "Pink Journey" cartridge. I really liked how this butterfly was made. It's much different than most of the other cartridges I've seen or used. That's why I picked it.


I cut this butterfly at 4 1/2 inches wide. The first cut had holes inside of the design itself. This feature I really liked. In the process I decided to cut a second butterfly, only this time, I cut the shadow feature. This enabled me to have a solid background.


Once cutting the butterfly, I then glued the two together.
 
 
I will say that I had wished I had thought about it a little closer before started, or else I would have done the dauber part first. I used the dauber sponge to dab the ink across and around the holes on the card. Don't think that is the correct way or correct technique to call it, but that's what I know.
This way, I didn't have to worry about if I got into the hole areas or not. So, that is why I wished I had done this particular part a little different. But nevertheless, it all turned out just fine.


After the butterfly pieces had been glued down, I had to decide which color and which color to go with that color. I thought that a gold and purple color would be very pretty together. I used the ink pad sets from Gina K. Designs. Specifically, I used the "Honey Mustard" color. This is the golden color you see.
 
 
As I said prior, I used a dauber tool technique to rub it across the paper as best as I could, as not to mess with the other sections of the butterfly.


Once that was completed, I picked a purple glitter gel pen, this really makes this card gorgeous and pop when held in the light. The glitter really does stands out against the golden color.
 
 
After this, I had to decide where I'd put the sentiment. I used the "Give A Hoot" cricut cartridge. I used a solid charm. I only cut it at 1'. It fit the sentiment perfectly. I used the sentiment "A Happy Hello" and this sentiment is from the "Dreams Take Flight" stamp set.
 
 
I used the ink pad set "Black Onyx" for the sentiment. I also used the "Honey Mustard" ink pad set to do the dauber technique to the charm. This made it match the card itself perfectly.
 
To hold the charm to the card, I used a golden brad to put it into place. Then to finalize the card, I put some golden beads across the bottom and top of the butterfly.
 
In order to make it a flip card, I took a piece of golden card stock paper, and folded it in half. Then, I took my butterfly and traced it onto that sheet of paper. I then took a pair of scissors and cut it out.
 
Afterwards, I glued it all together. This completed my project. It's not a hard thing to do and turns out to be a gorgeous card if done correctly.
 
Thanks again for stopping by and taking a moment to glance at my newest project. I hope in some way it will bless you. I also hope that in some way you have learned something new.
 
If you wouldn't mind, please leave your comments below. This helps me to know how to reach my readers better, and what you enjoy most about my work. So, would this be something you'd make to?